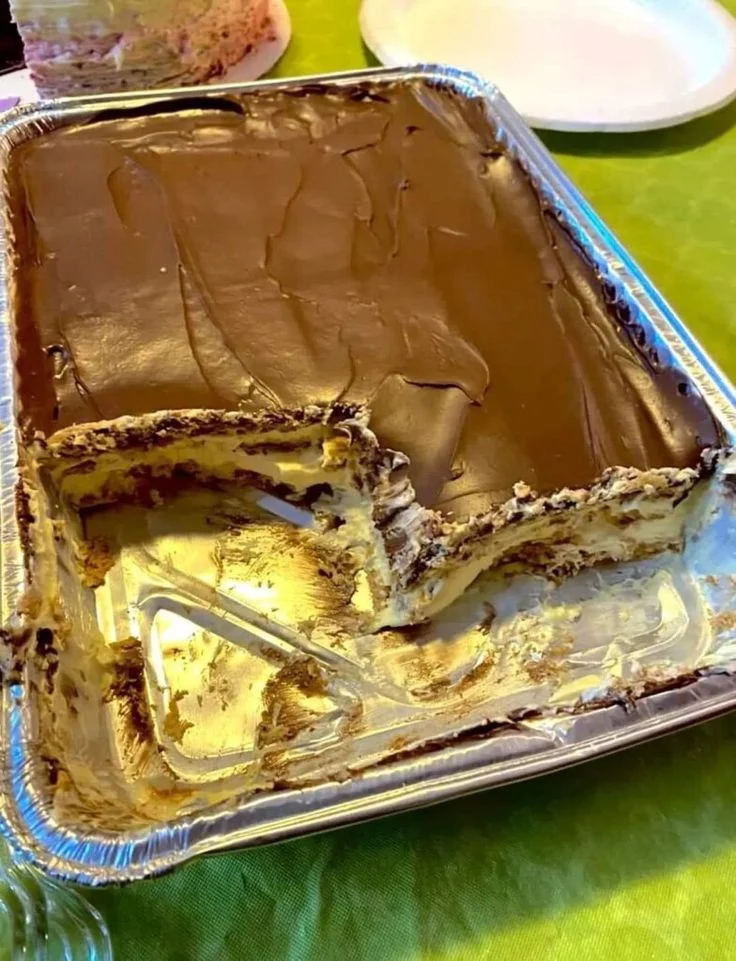
If you love rich chocolate desserts and creamy layered treats but do not want to turn on the oven, this No-Bake Chocolate Éclair Cake is an excellent choice. It combines layers of graham crackers, smooth vanilla cream filling, and a glossy chocolate topping that tastes similar to a classic chocolate éclair pastry but requires much less effort. One of the best things about this dessert is that it becomes even better after sitting in the refrigerator because the graham crackers soften and transform into cake-like layers.
This dessert is ideal for family gatherings, birthdays, potlucks, holidays, weekend treats, or anytime you need a crowd-pleasing dessert with very little baking experience. It is also beginner-friendly because the steps are simple and there is no need to worry about baking temperatures, cake rising, or complicated decorating techniques.
The recipe below creates a rich, creamy, and delicious no-bake chocolate éclair cake that serves approximately 12–15 people.
Preparation Information
Prep Time: 25–30 minutes
Chilling Time: 6–8 hours (overnight is even better)
Total Time: Around 8 hours
Servings: 12–15 slices
Ingredients
For the Cream Filling
- 2 boxes instant vanilla pudding mix (3.4 ounces each)
- 3 cups cold whole milk
- 1 container whipped topping (8 ounces), thawed
- 1 teaspoon vanilla extract
For the Layers
- 1 large box graham crackers (approximately 14–16 ounces)
For the Chocolate Topping
- ½ cup unsweetened cocoa powder
- 1 cup granulated sugar
- ¼ cup milk
- ½ cup unsalted butter
- 1 teaspoon vanilla extract
Optional:
- Pinch of salt
You may also replace the homemade topping with prepared chocolate frosting if you prefer a faster version.
Equipment Needed
- 9 x 13-inch baking dish
- Large mixing bowl
- Medium saucepan
- Whisk
- Rubber spatula
- Measuring cups and spoons
- Refrigerator space
Step 1: Prepare the Vanilla Cream Filling
Start by making the creamy filling because this forms the heart of the dessert.
Take a large mixing bowl and pour in the cold milk. Add the instant vanilla pudding mixes and the vanilla extract.
Using a whisk, mix everything together for around 2–3 minutes. Continue whisking until the mixture begins thickening. The pudding should become smooth without lumps.
Allow the pudding to sit for approximately 5 minutes so it can fully thicken.
Now add the thawed whipped topping to the pudding mixture.
Using a spatula, gently fold the whipped topping into the pudding. Folding means slowly combining the mixture without stirring aggressively. This keeps the filling light and airy.
Continue folding until the color becomes evenly creamy and no streaks remain.
Your filling should now look smooth, fluffy, and slightly thick.
Set the mixture aside.
Step 2: Create the First Graham Cracker Layer
Take your 9 x 13-inch baking dish.
Begin arranging graham crackers across the bottom of the dish.
Place the crackers in a single flat layer.
You will likely need to break some crackers into smaller pieces to fit along the edges and corners.
Try to cover as much space as possible because this helps create even layers later.
Do not worry if the crackers are not perfectly aligned because once the dessert chills, small imperfections become invisible.
Step 3: Add the First Cream Layer
Take approximately half of the prepared vanilla cream filling.
Spread it evenly over the graham crackers.
Use a spatula to smooth the surface carefully.
Make sure the filling reaches the edges and corners of the pan.
Try creating an even layer so every slice has consistent flavor and texture.
Step 4: Add the Second Graham Cracker Layer
Place another full layer of graham crackers directly on top of the cream mixture.
Again, break pieces where necessary so the layer covers most of the surface.
This second layer helps create the traditional éclair texture after chilling.
Step 5: Add the Second Cream Layer
Spread the remaining pudding mixture over the second graham cracker layer.
Smooth everything carefully.
Try to keep the layer thickness even throughout the dish.
The cream filling should completely cover the crackers.
Step 6: Add the Final Graham Cracker Layer
Place one more layer of graham crackers on top.
This creates the top structure for the dessert and supports the chocolate topping.
Arrange the crackers evenly and fill any empty spaces with smaller pieces.
Now set the dish aside while you prepare the chocolate topping.
Step 7: Prepare the Chocolate Topping
Take a medium saucepan and place it over medium heat.
Add:
- Cocoa powder
- Sugar
- Milk
- Butter
- Pinch of salt (optional)
Stir constantly while the ingredients heat.
As the butter melts, the mixture will become smoother.
Continue stirring until everything combines completely.
Bring the mixture to a gentle boil.
Allow it to boil for approximately 1 minute while stirring.
Remove from heat immediately.
Add the vanilla extract and stir.
Let the chocolate mixture cool for around 10–15 minutes.
This step is important.
If the chocolate is extremely hot, it may melt the cream filling underneath.
The topping should still be pourable but not very hot.
Step 8: Pour and Spread the Chocolate Topping
Slowly pour the chocolate mixture over the final graham cracker layer.
Use a spatula to spread it evenly across the surface.
Cover every area including the corners.
Work gently so the graham crackers underneath stay in place.
Once spread evenly, the dessert should have a smooth glossy chocolate finish.
Step 9: Refrigerate the Cake
Cover the baking dish with plastic wrap or aluminum foil.
Place it in the refrigerator.
Allow it to chill for at least 6–8 hours.
Overnight refrigeration gives the best results.
This waiting period is important because several things happen:
- The graham crackers absorb moisture
- The layers soften
- The flavors blend together
- The dessert develops a cake-like texture
Cutting too early may result in crunchy crackers rather than soft layers.
Patience improves the final result.
Step 10: Slice and Serve
Once fully chilled, remove the cake from the refrigerator.
Use a sharp knife to cut squares or rectangles.
For cleaner slices, wipe the knife with a damp cloth between cuts.
Serve chilled.
Each bite should contain:
- Soft cake-like graham layers
- Smooth vanilla cream
- Rich chocolate topping
Optional Variations
One of the best things about this dessert is how easily it can be customized.
Chocolate Lover’s Version
Replace vanilla pudding with chocolate pudding for a double chocolate dessert.
Peanut Butter Version
Mix ½ cup creamy peanut butter into the pudding filling.
Chocolate and peanut butter create a rich combination.
Strawberry Version
Add thin layers of fresh sliced strawberries between the cream layers.
Cookies and Cream Version
Mix crushed chocolate sandwich cookies into the filling.
Mocha Version
Add 1 teaspoon instant espresso powder to the chocolate topping.
Helpful Tips for Success
Use cold milk
Cold milk helps instant pudding set properly.
Allow whipped topping to thaw
Frozen whipped topping does not combine smoothly.
Do not skip chilling time
This dessert depends heavily on refrigeration.
Spread layers evenly
Even layers create a prettier appearance and consistent flavor.
Cool chocolate topping slightly
Hot chocolate can melt the cream layers.
Make ahead if possible
This recipe tastes even better after sitting overnight.
Storage Instructions
Store leftovers covered in the refrigerator.
The cake stays fresh for approximately 3–4 days.
Do not leave it at room temperature for long periods because of the dairy ingredients.
Freezing is possible, although texture changes slightly after thawing.
To freeze:
- Wrap tightly
- Store up to 1 month
- Thaw overnight in the refrigerator before serving
Final Thoughts
No-Bake Chocolate Éclair Cake is one of those desserts that looks impressive while requiring surprisingly little effort. The layers become soft and rich after chilling, creating a dessert that tastes much more complicated than it actually is. Its creamy vanilla filling combined with smooth chocolate topping creates a classic flavor combination that appeals to both children and adults.
Whether you make it for a family dinner, celebration, or simple weekend dessert, this recipe is reliable, delicious, and likely to become a regular favorite. The greatest challenge is usually waiting long enough for it to chill before taking the first slice.
